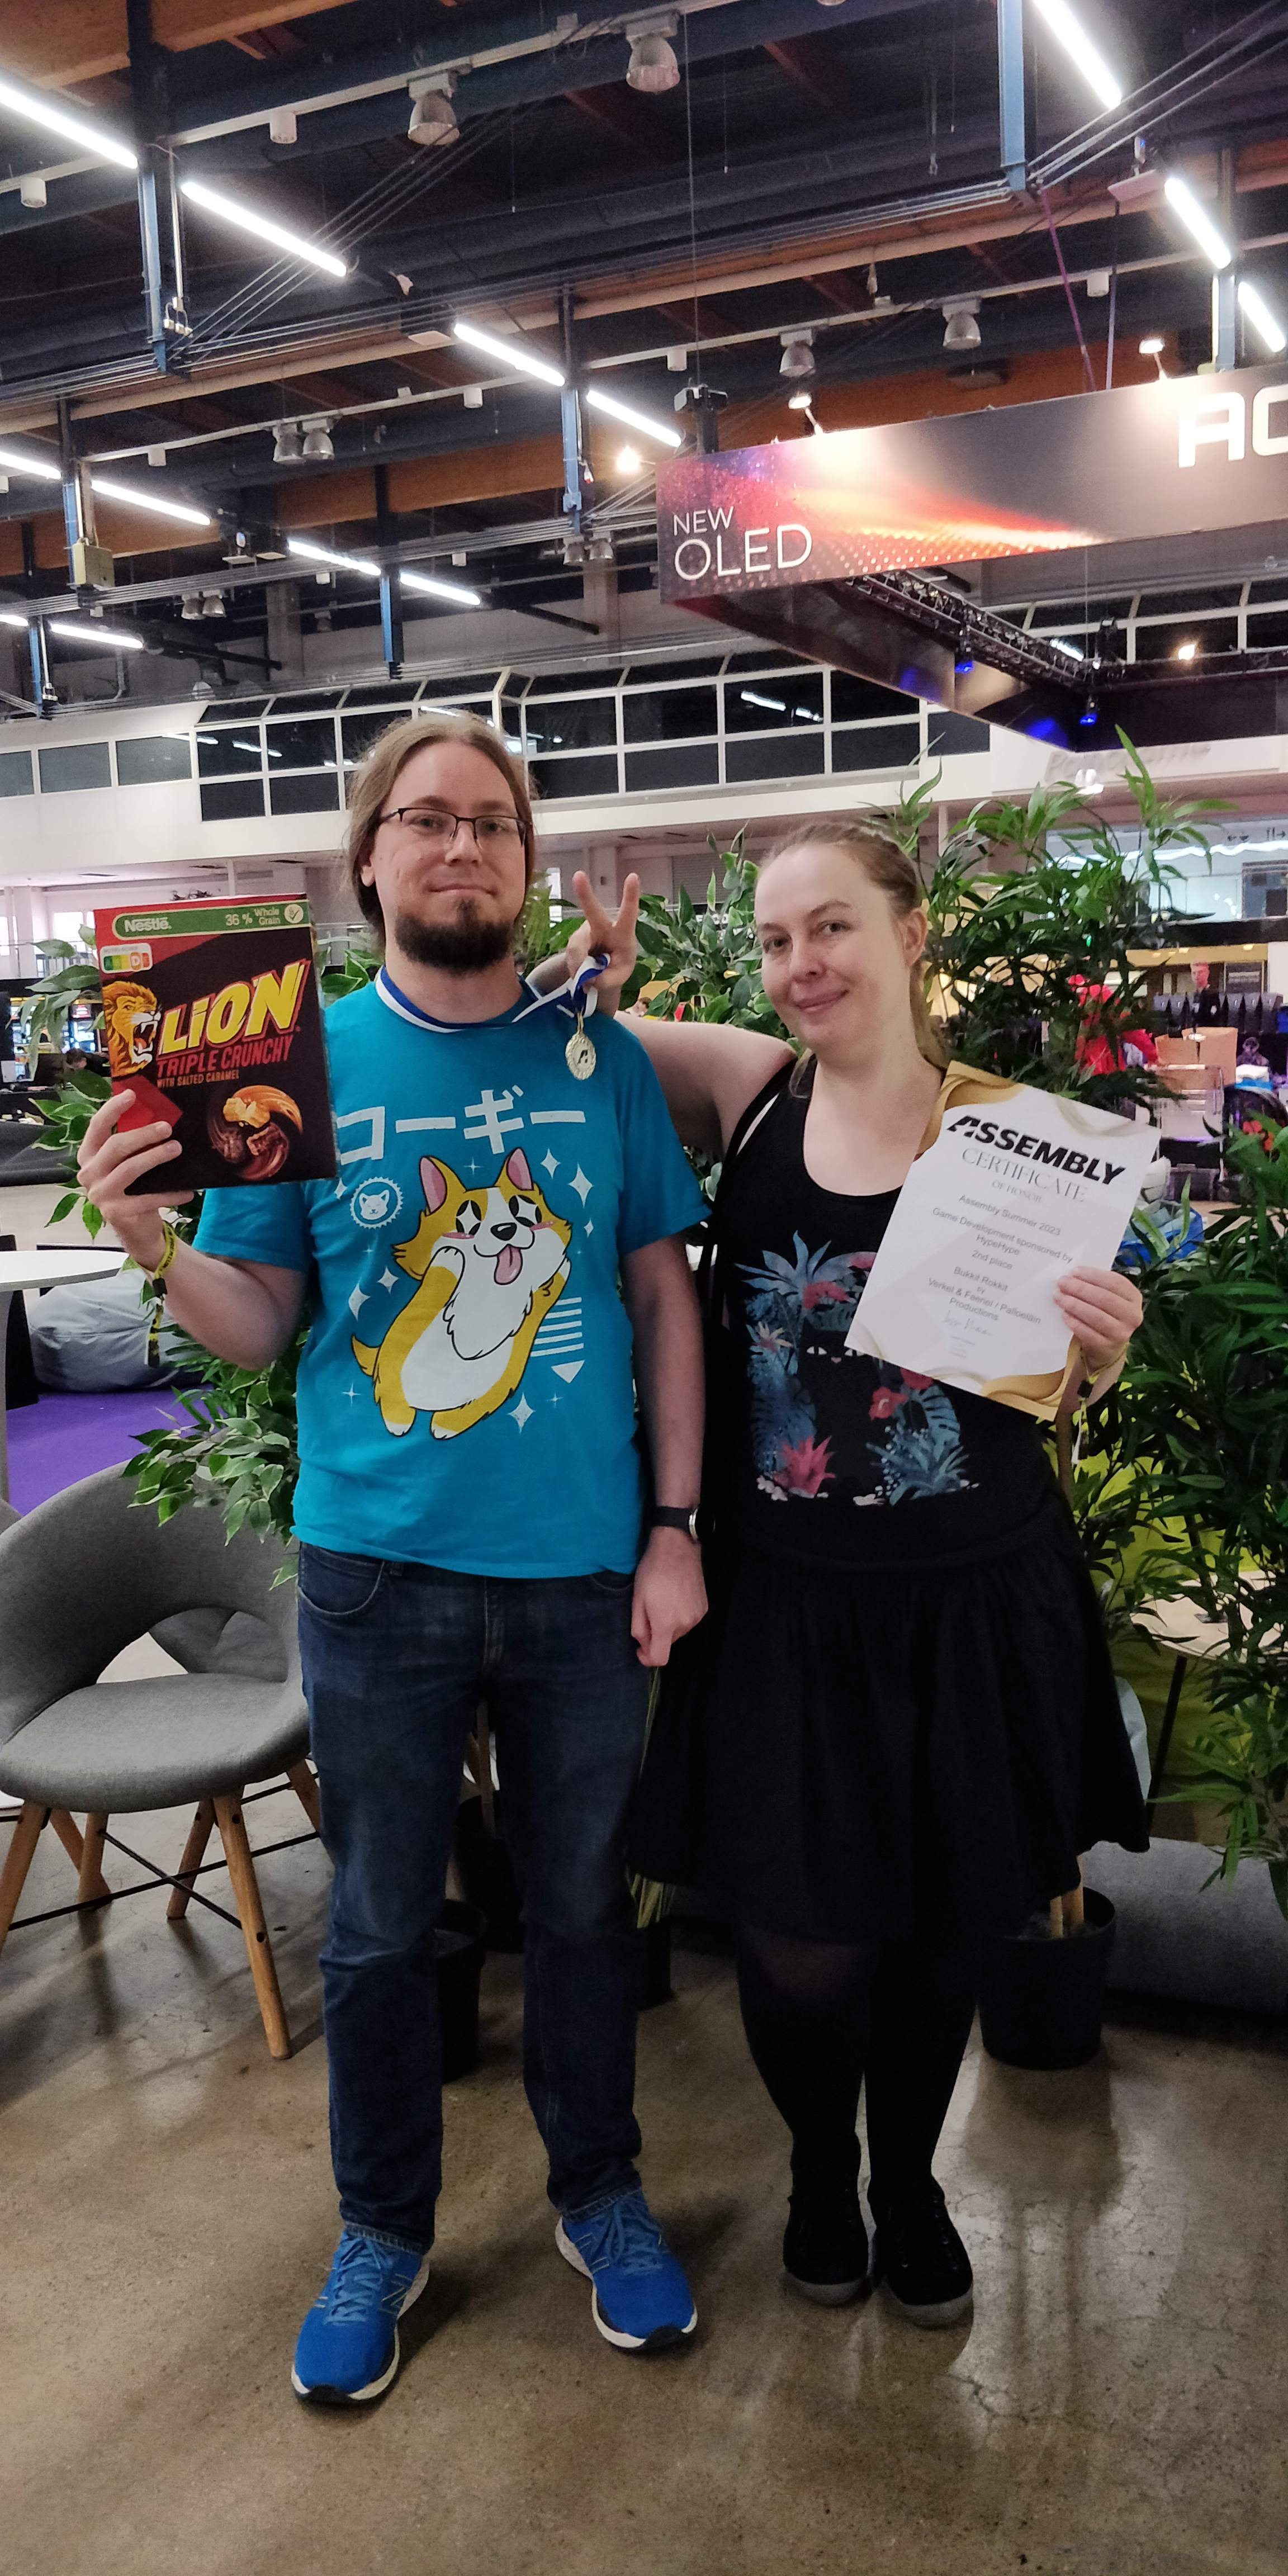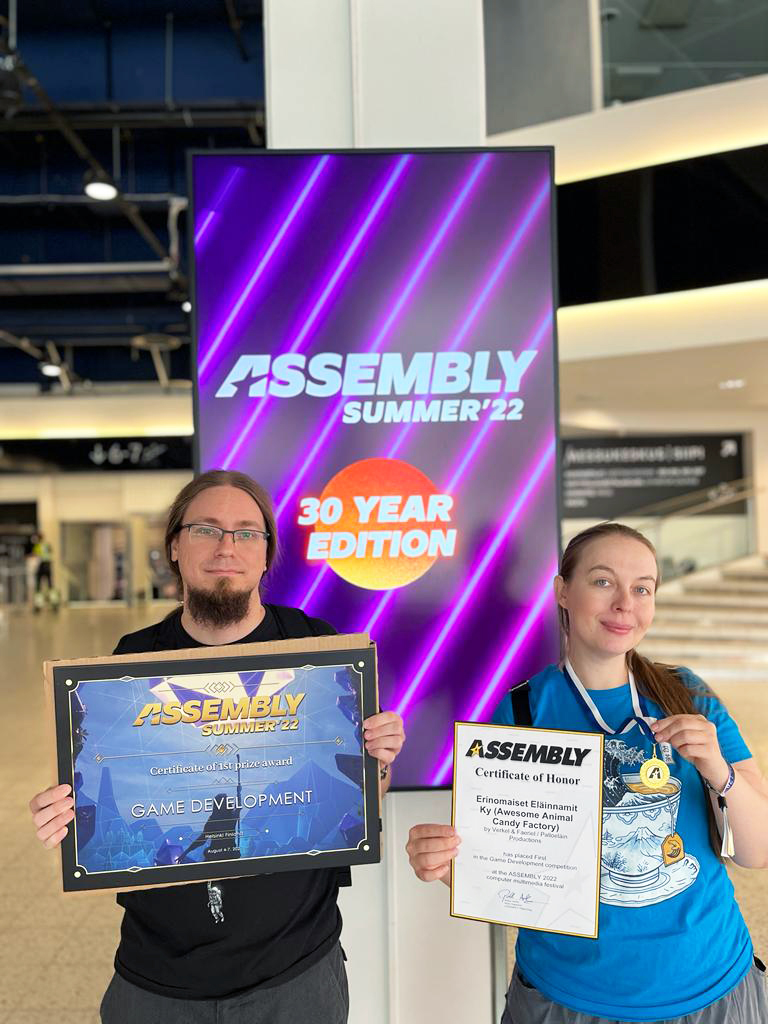
Assembly Gamedev compo 2023: 2nd place 🥈
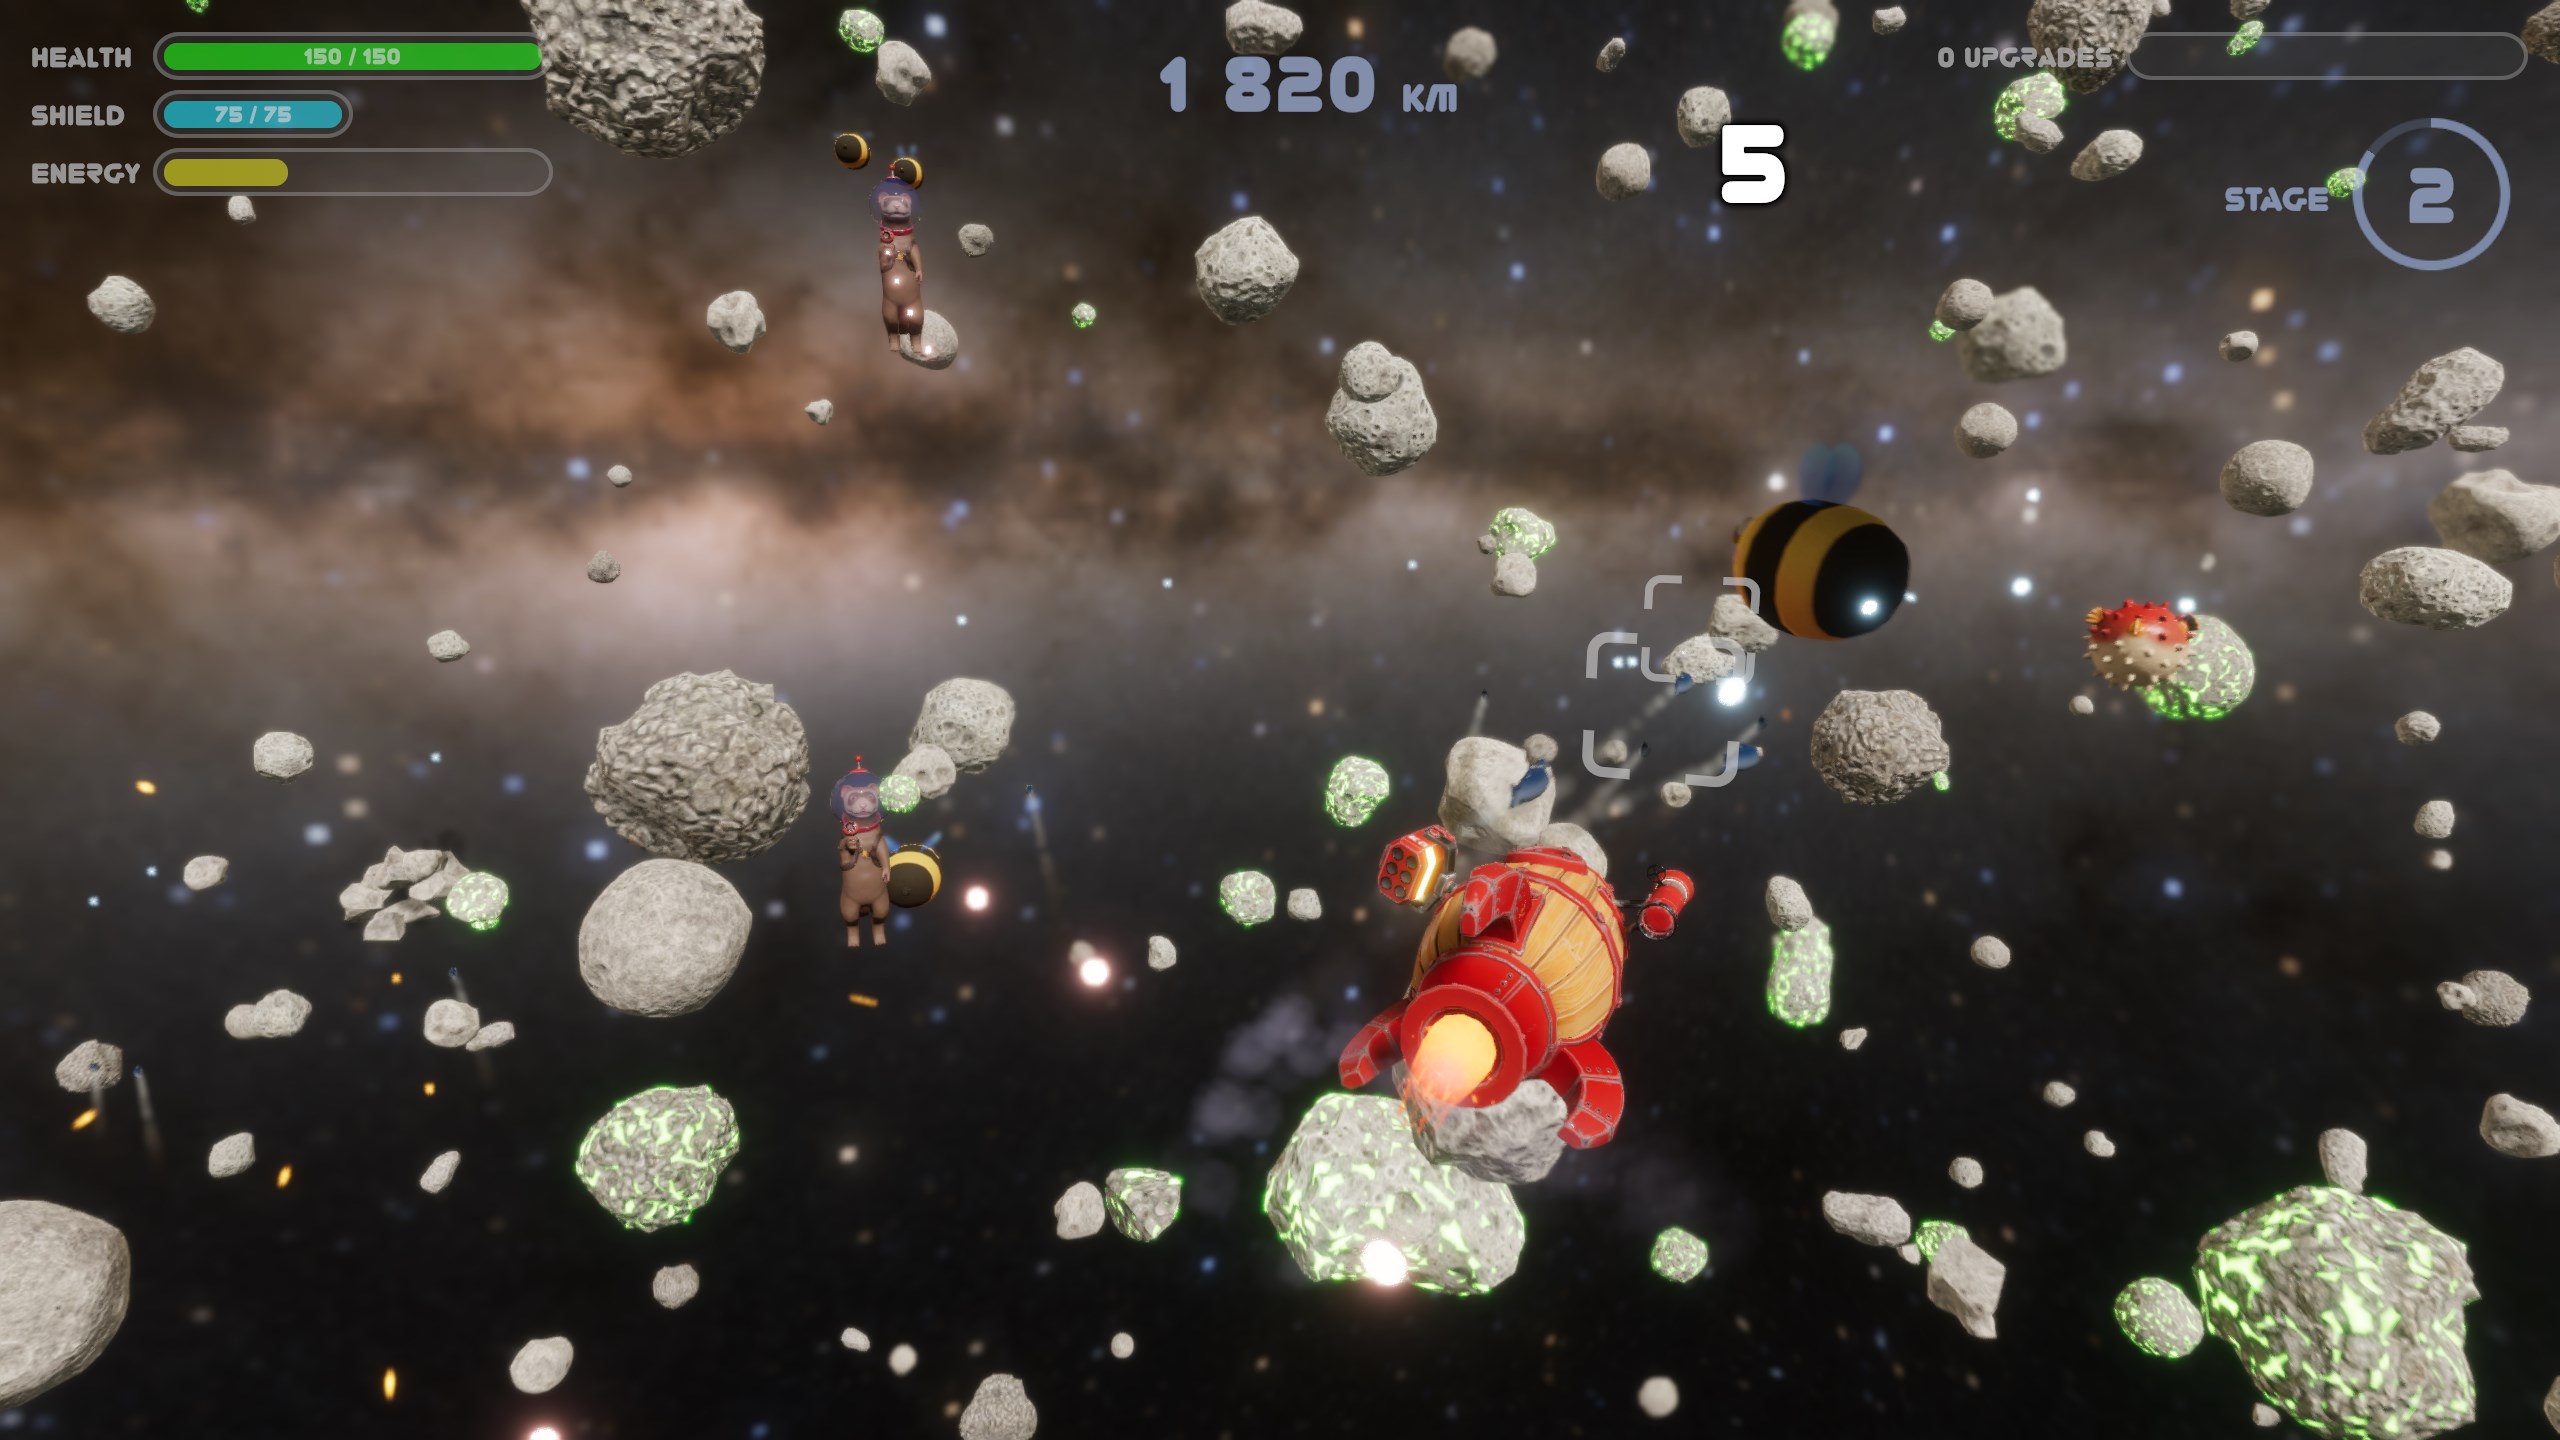
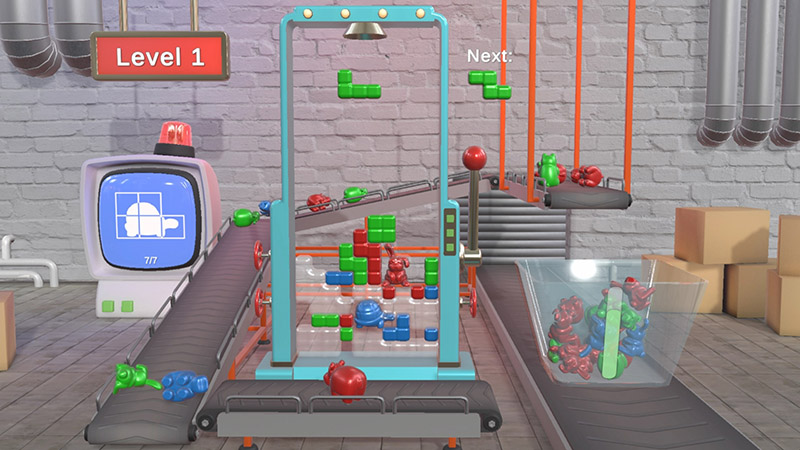
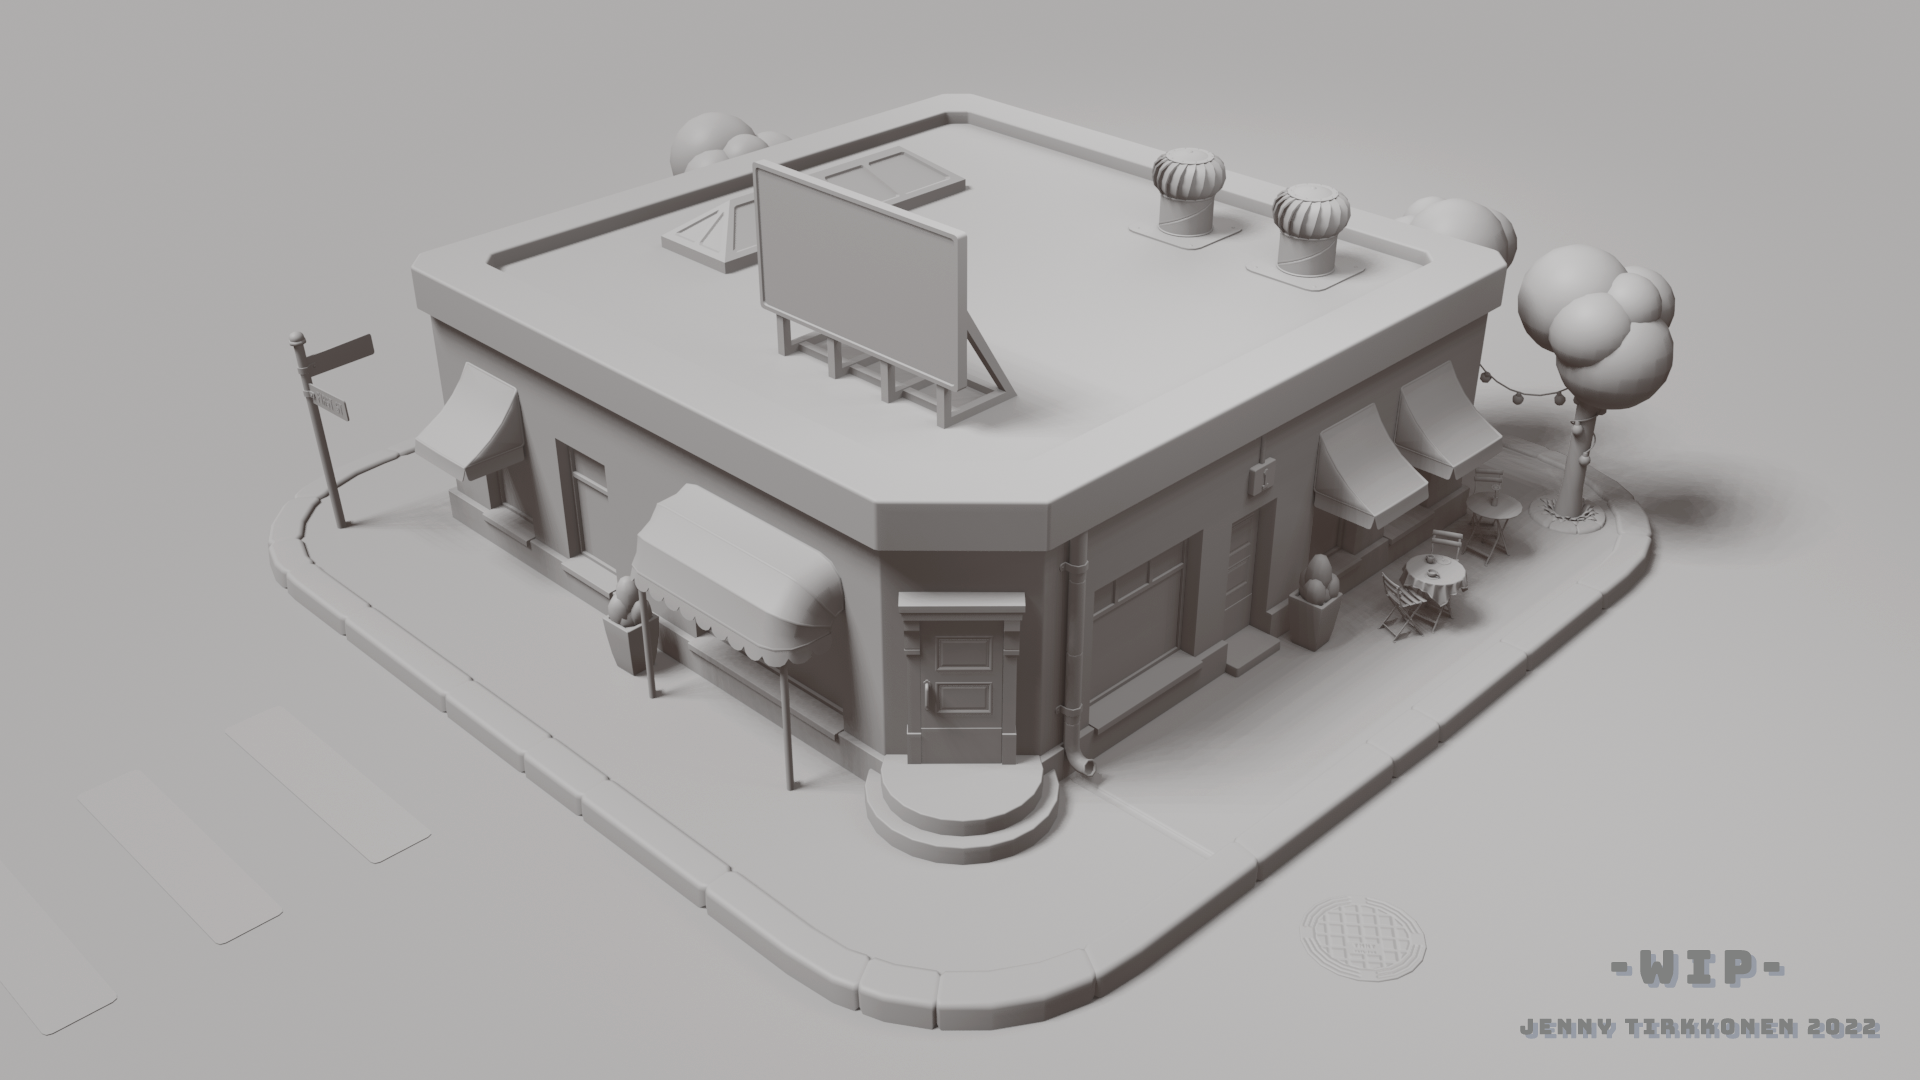
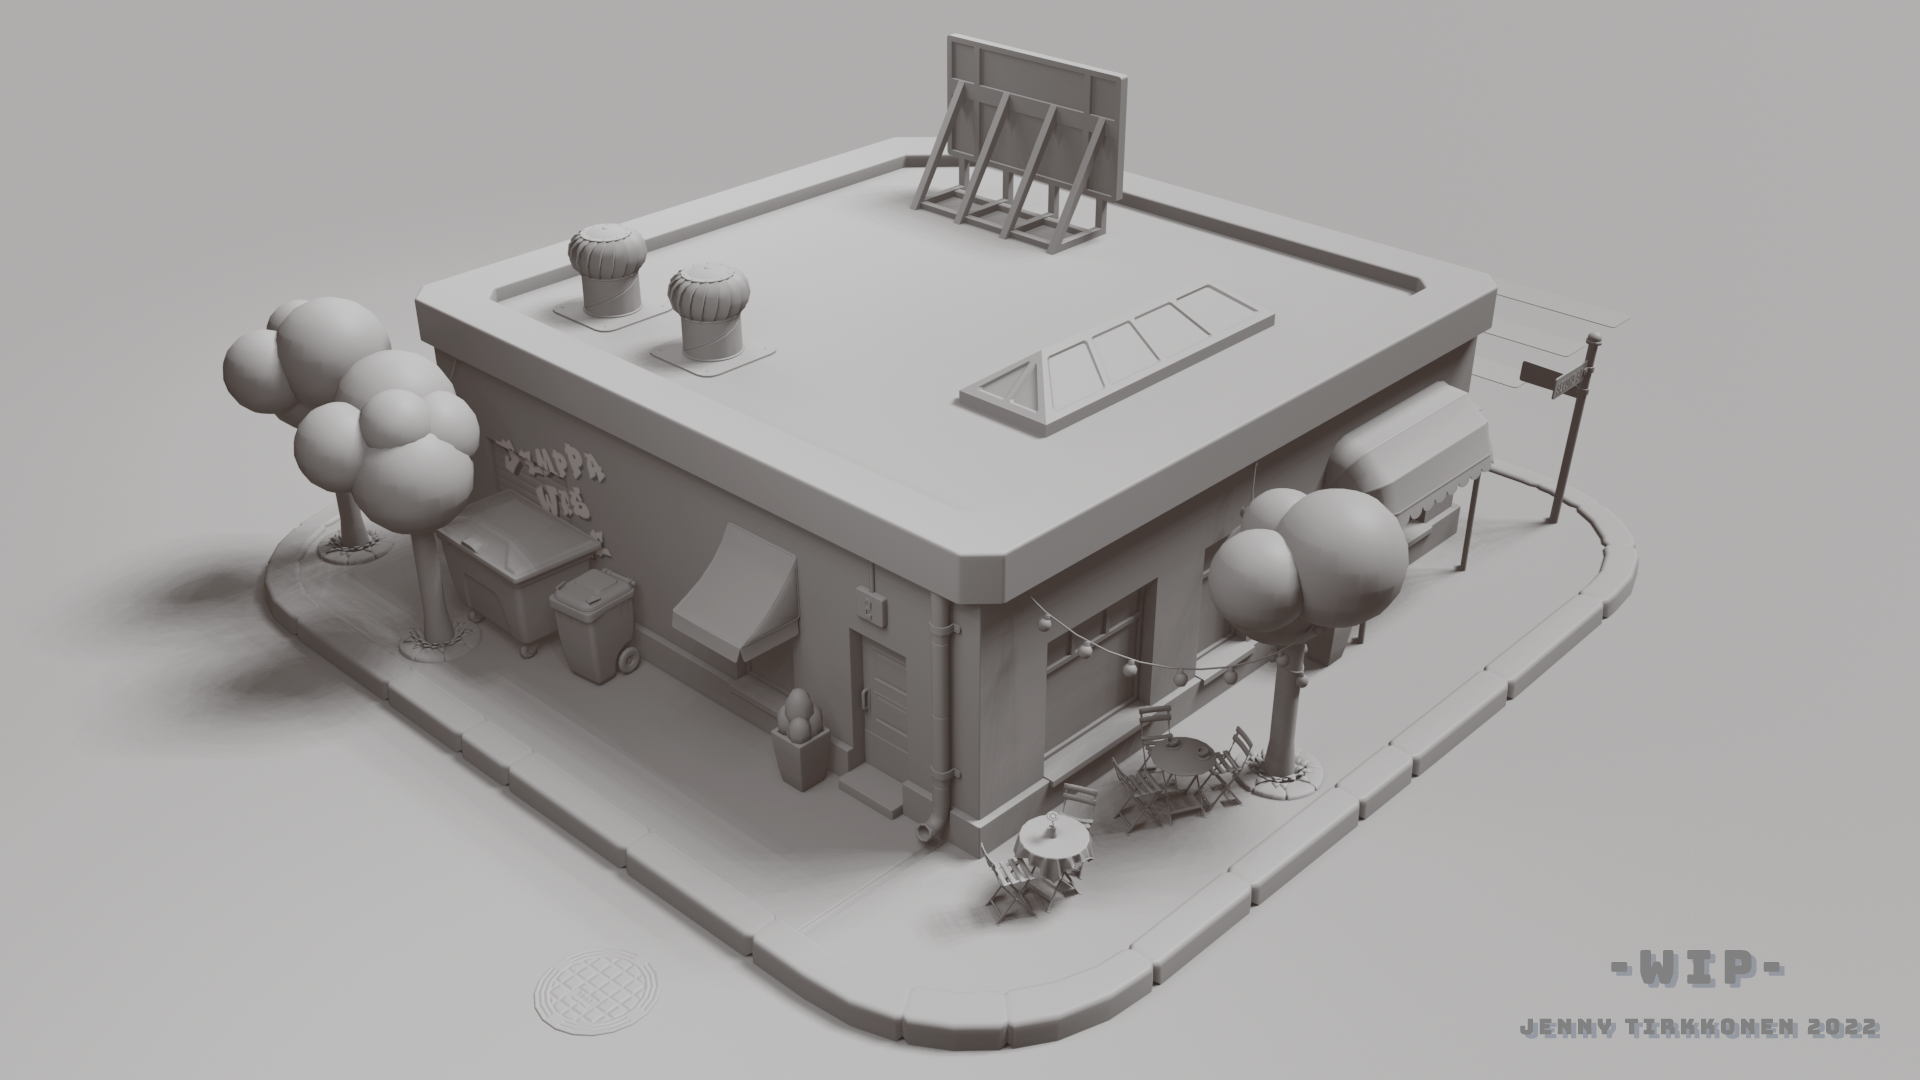
I participated to the Assembly Summer 2023 Gamedev compo with Jaakko Lindvall. The name of our game was Bukkit Rokkit: A thrilling journey in space. Graphics were made by me and all the programming by Jaakko Lindvall. It was a tough race with many formidable entries, and I am very happy to tell that our game has scored in the 2nd place.
You can download the game here and watch the trailer here.
Warm thanks to everyone who played our game! There might be a Steam release later, stay tuned!