My BCON24 talk is now available online
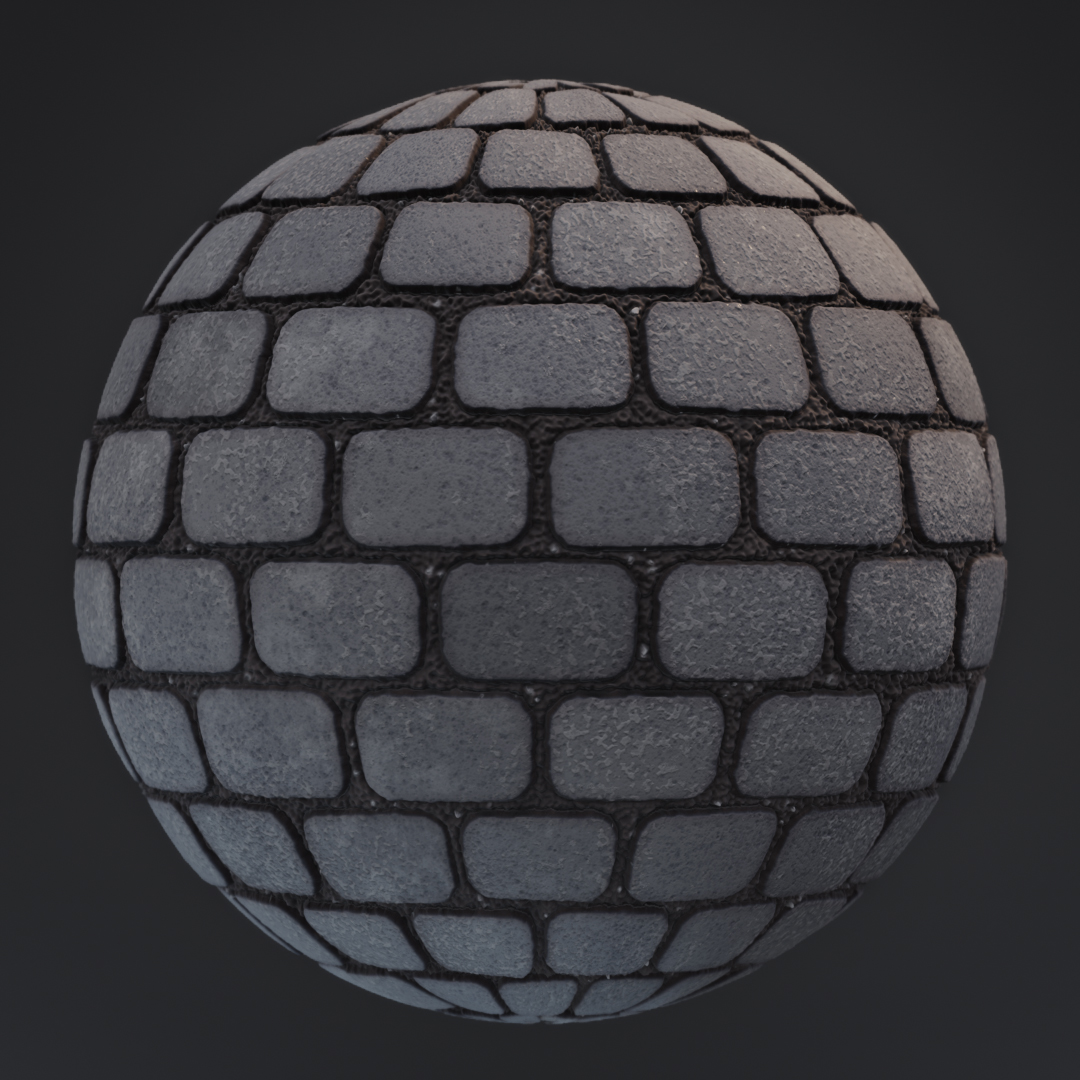
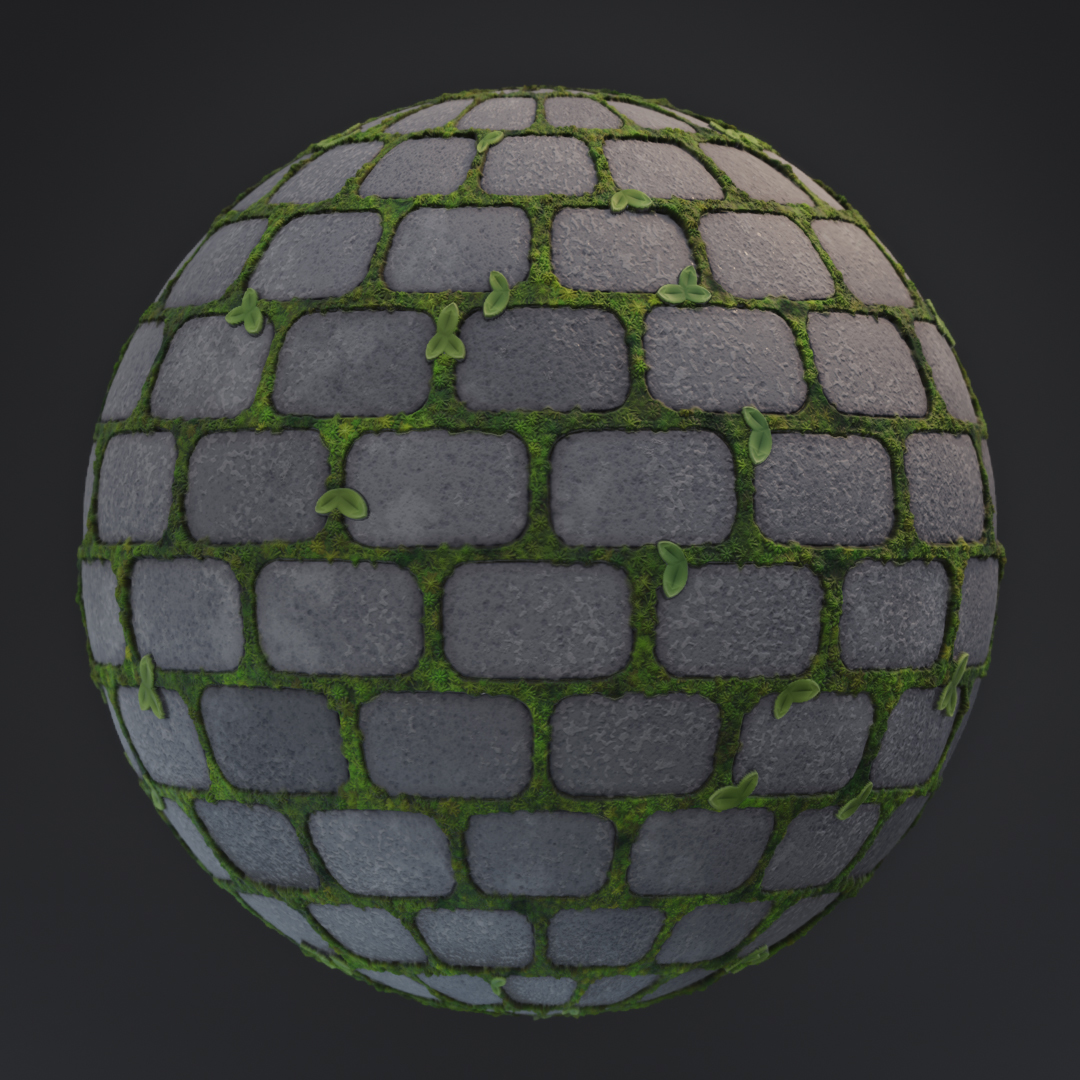
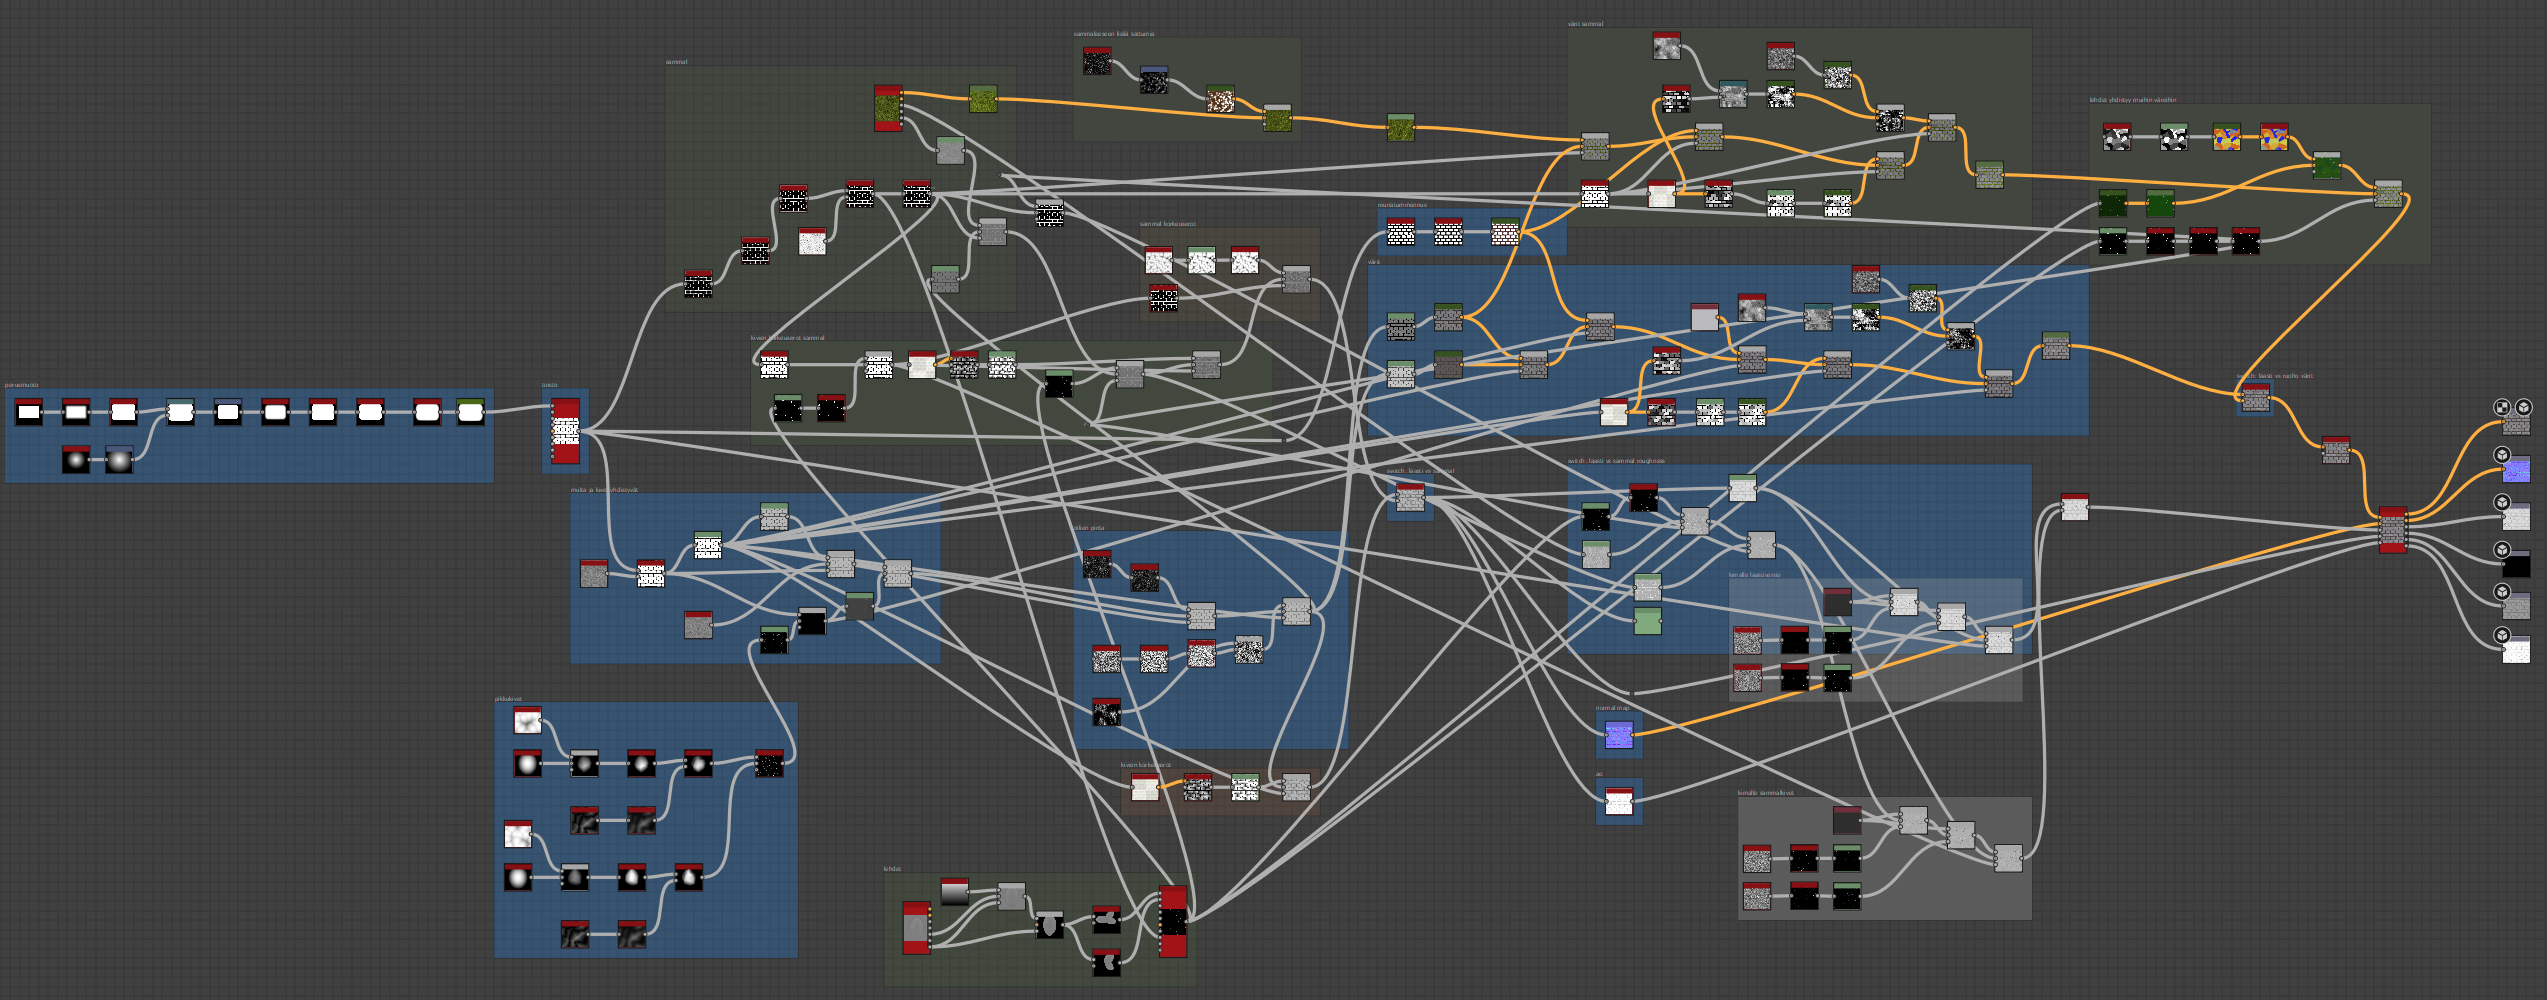
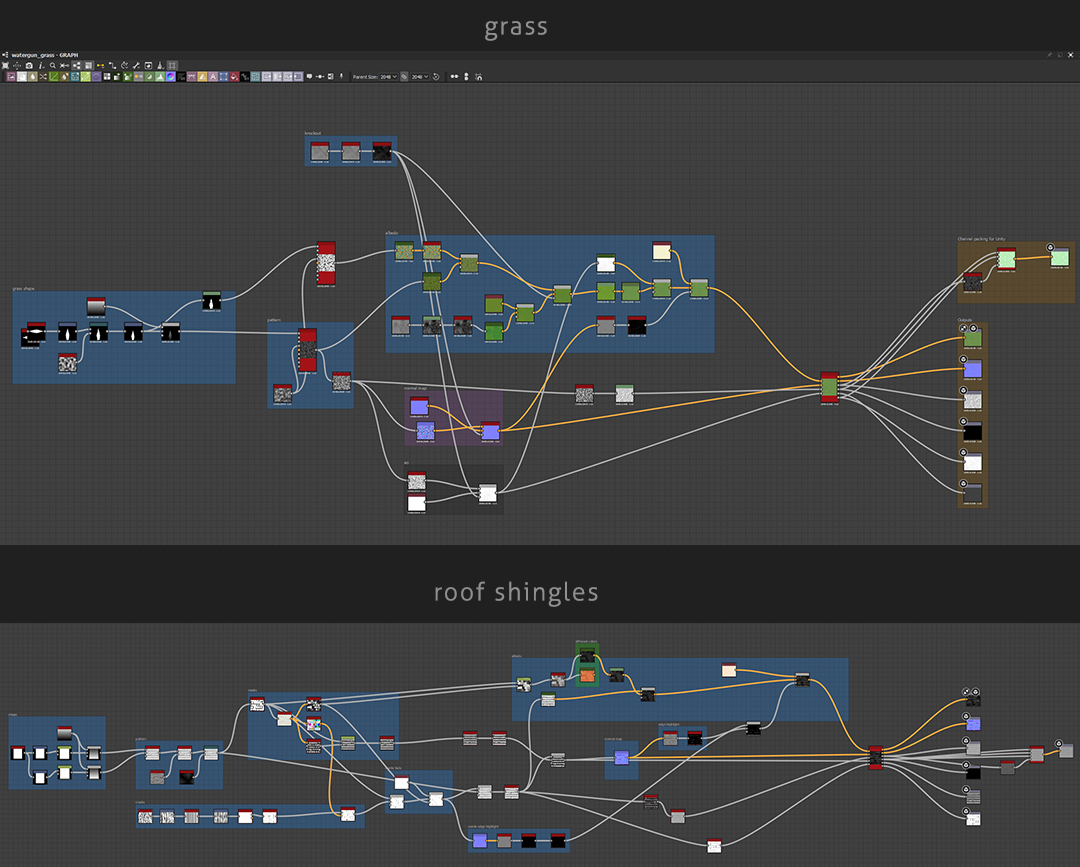
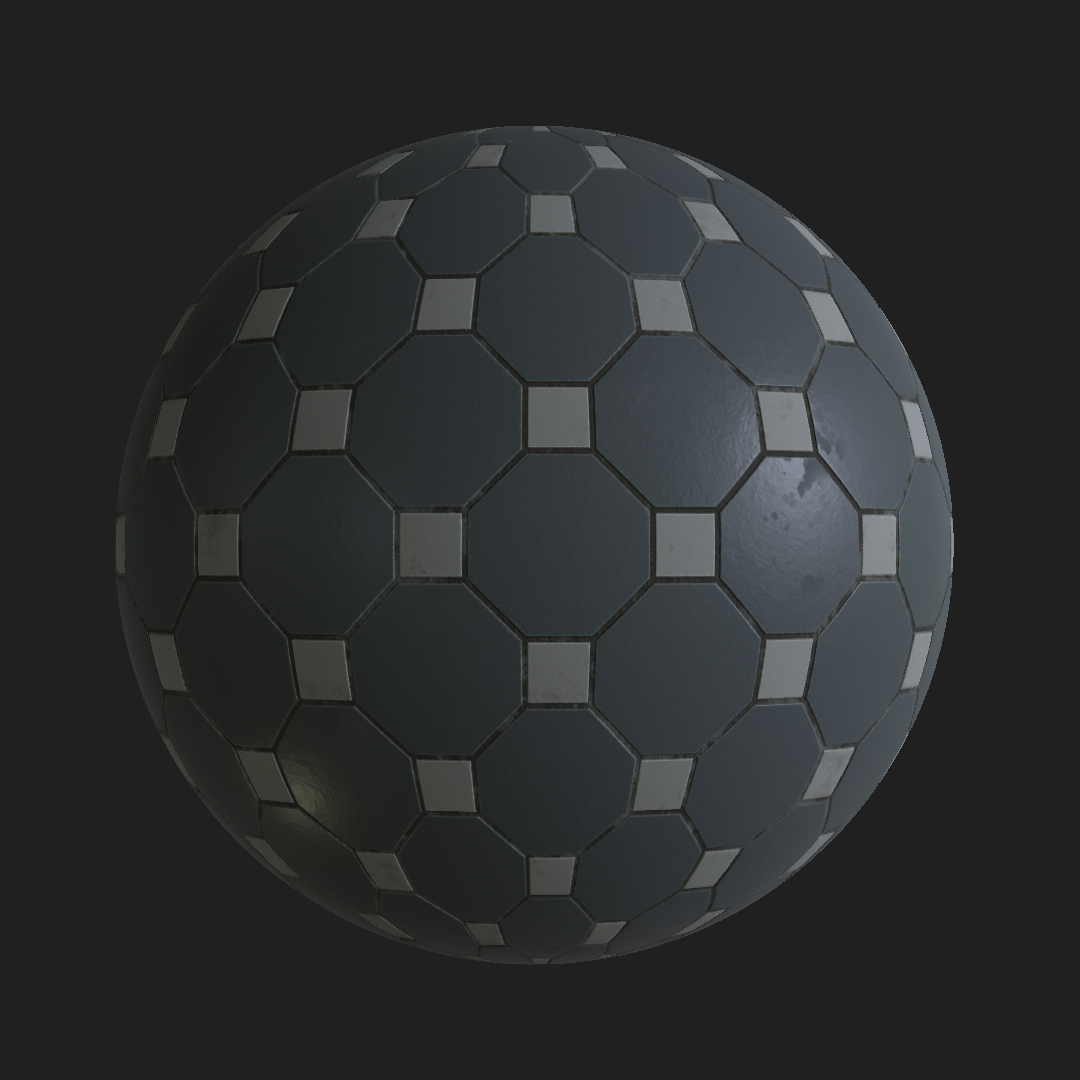
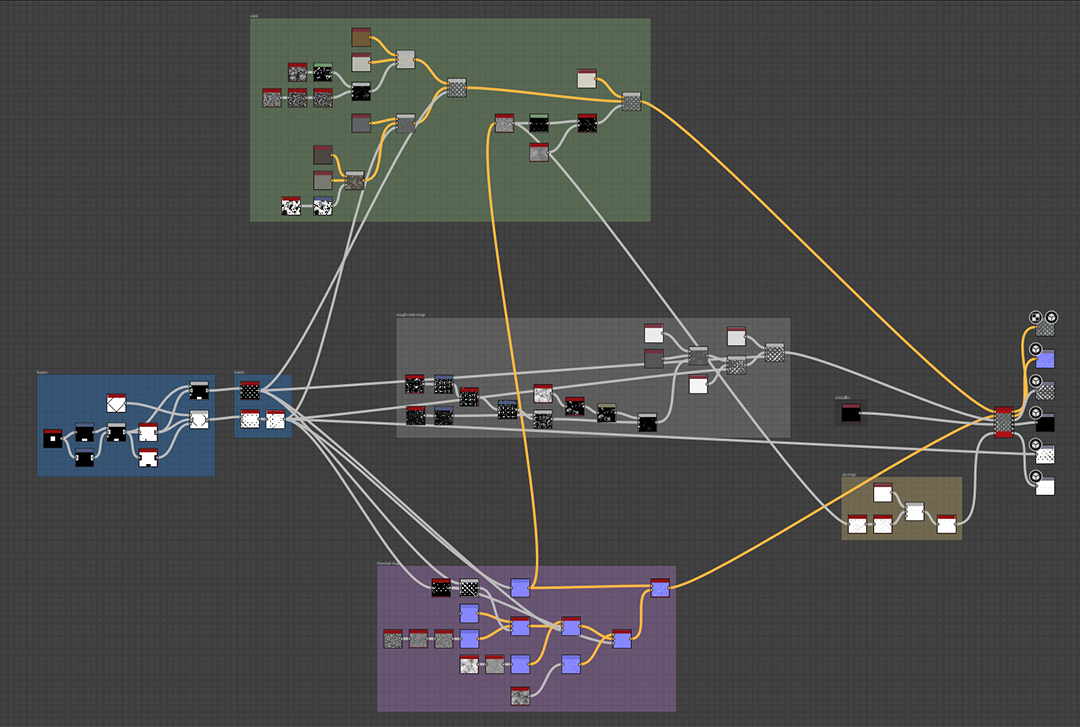
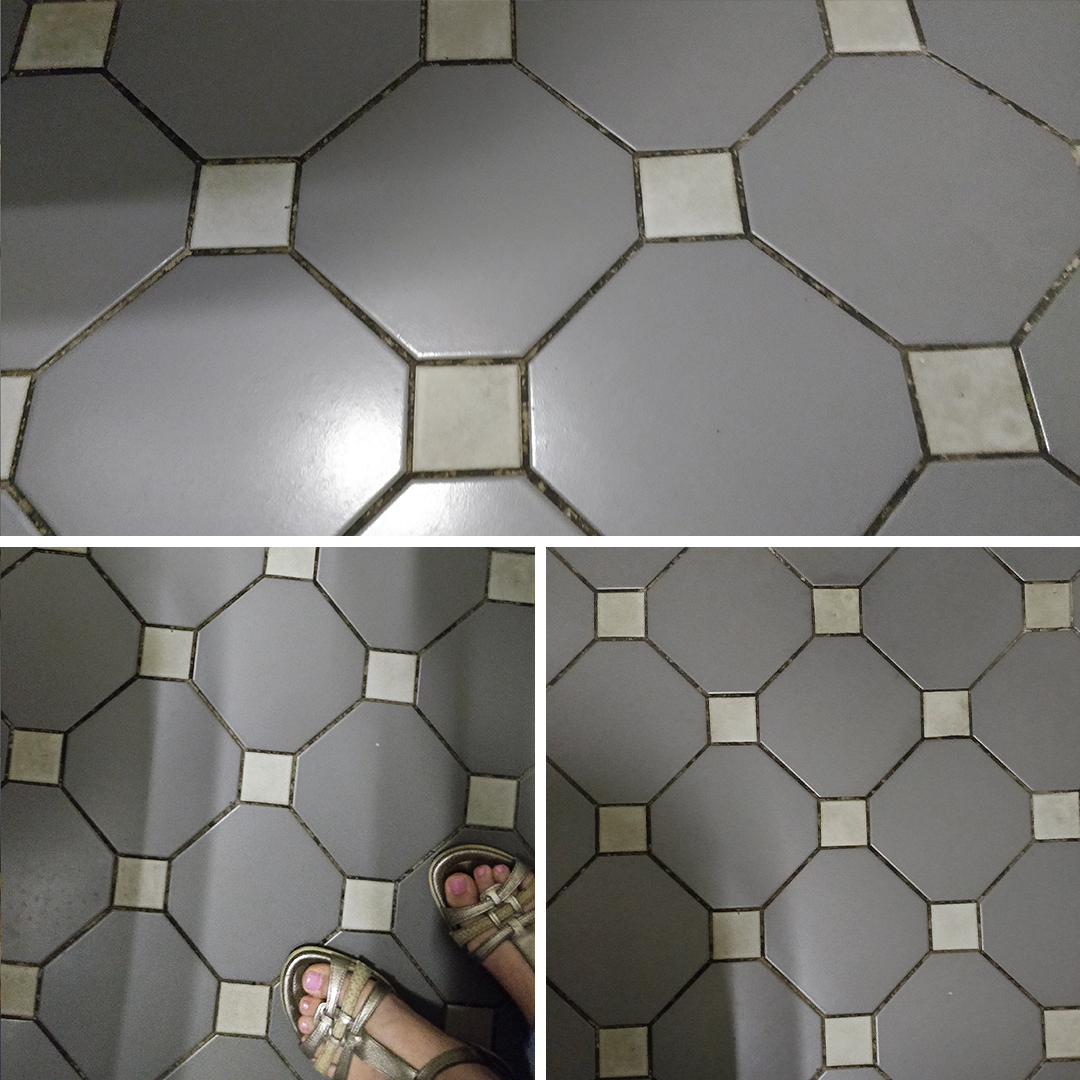
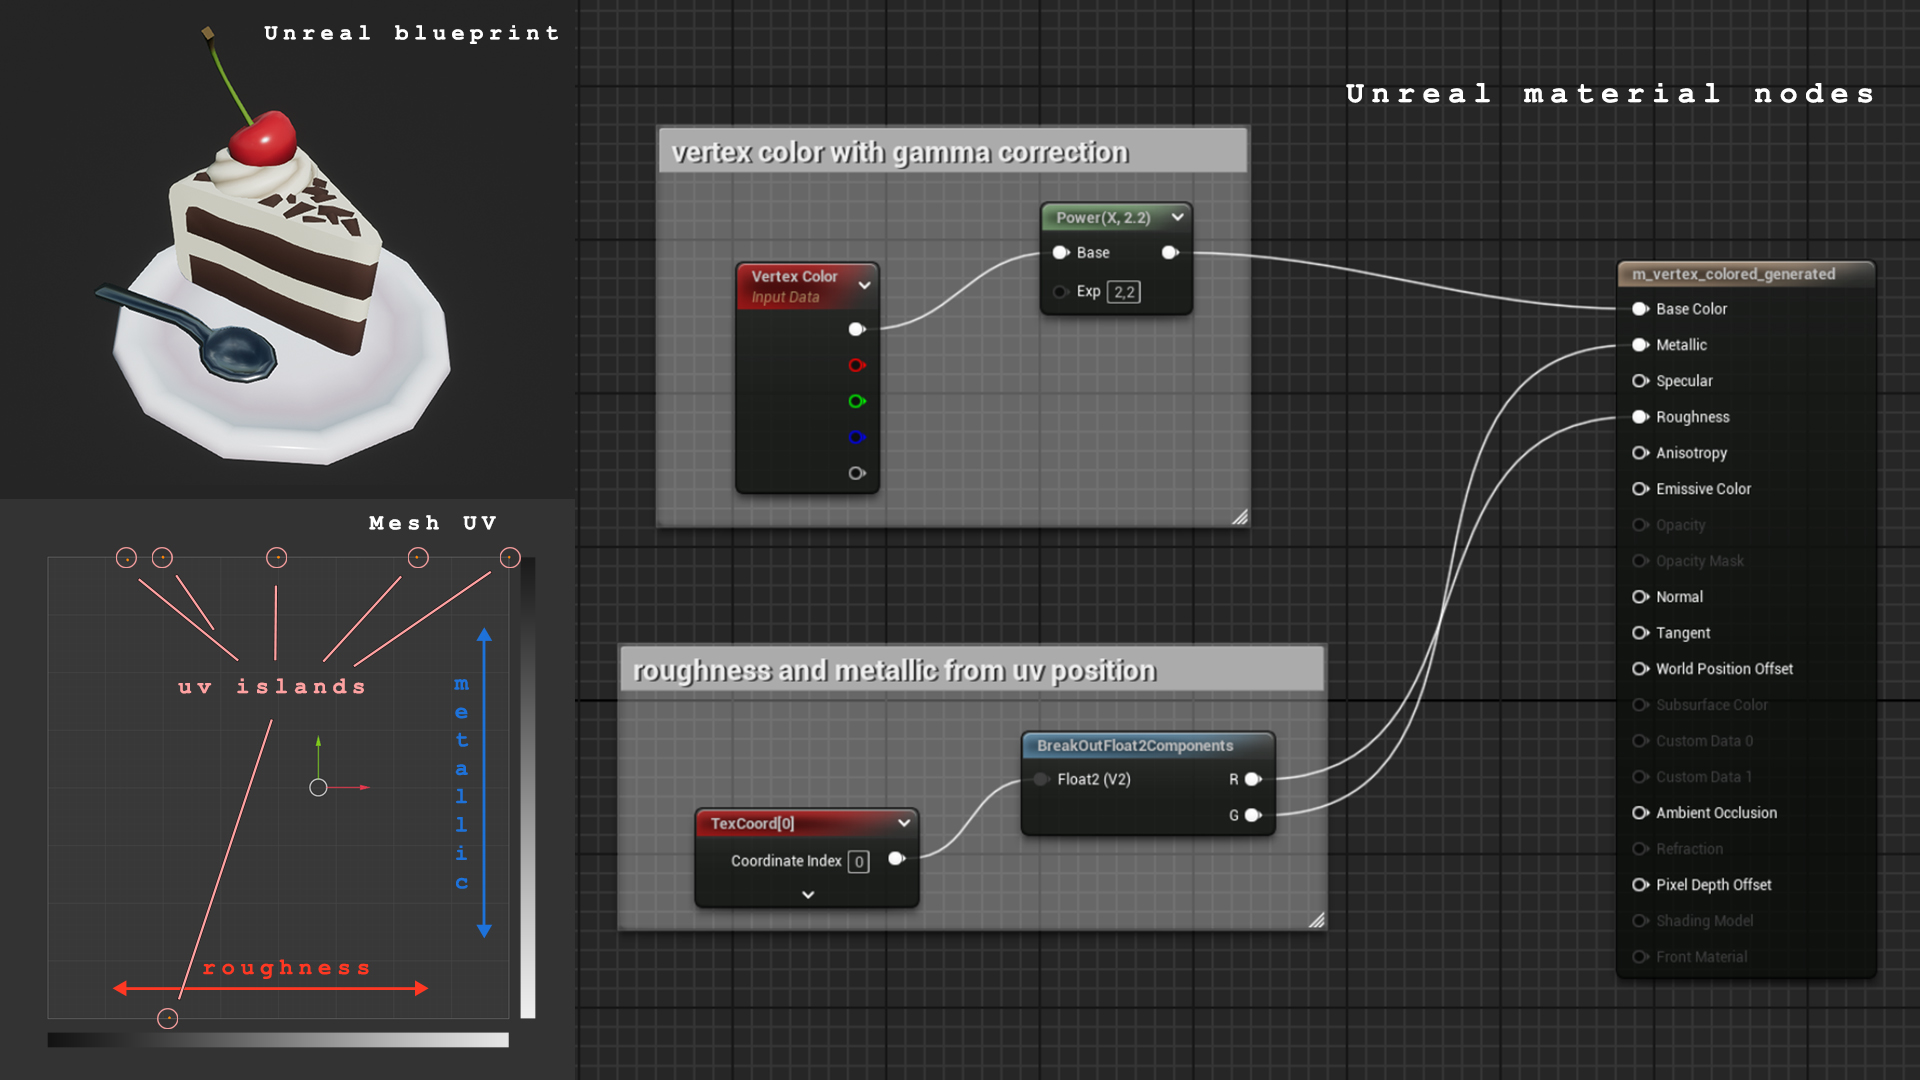
Ever since I first attended, the annual Blender Conference has been the highlight of my year. This year was extra exciting for me, as I found myself returning to the venue as a first time speaker. My talk about vertex color usage in shaders took place on the second day at 2pm. I was super nervous and you can probably tell. Nevertheless I was happy to see that a lot of people were really interested on the topic. I had great conversations afterwards with my fellow artists too. For how common vertex painting is, the information on the topic is quite little and far between. I hope this presentation can act as a learning resource for any aspiring artist wanting to dig deeper.
Thank you Blender for having me!